
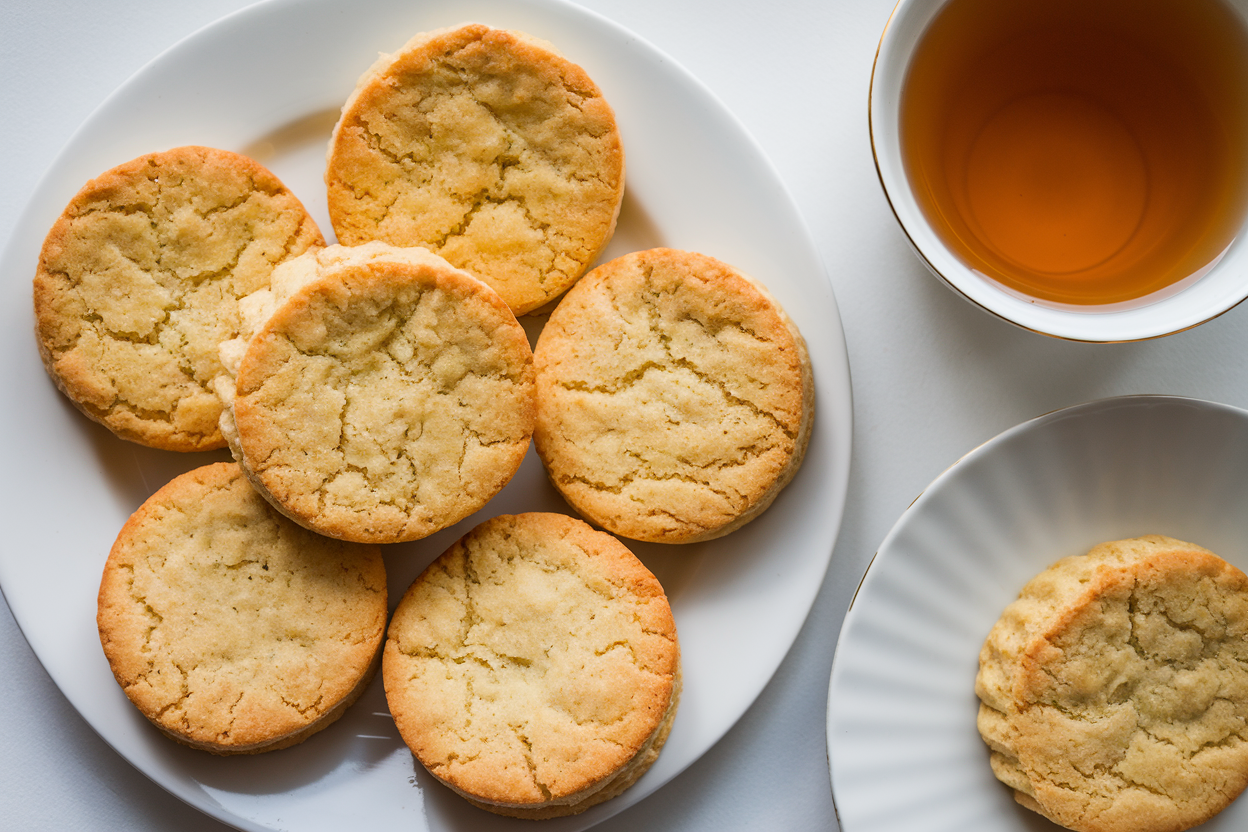
You want a snack that makes your 3 p.m. tea feel like a tiny holiday? This is it. These homemade tea biscuits are crisp on the edges, tender in the middle, and engineered to dunk without crumbling like your last “gourmet” cookie.
No fancy gear, no culinary degree—just pantry staples and 30 minutes. Make a batch once and you’ll wonder why you ever settled for store-bought. Ready to flex on your next cuppa?
Table of Contents
Feeling foggy, stuck, or emotionally off?
- • Trouble focusing or feeling scattered
- • Low energy or emotional drive
- • Feeling disconnected or stuck
These tools can help you reset, refocus, and reconnect:
- 🔋 Mitolyn
- Cellular energy & mitochondrial support
- 🌙 SleepLean
- Restful sleep & metabolic balance
- 💧 ProstaVive
- Prostate comfort & urinary support
Why You’ll Love This Recipe
- Dunk-friendly texture: Crisp exterior plus a soft crumb means they hold up in tea, coffee, or hot chocolate without falling apart.
- Fast and fuss-free: From mixing bowl to mouth in about 30 minutes.
- Pantry-based: Nothing obscure—if you bake occasionally, you’ve got everything already.
- Not too sweet: Balanced flavor that complements tea rather than overpowering it.
- Batch-friendly: Doubles easily, freezes beautifully, and stays fresh for days.
Ingredients Breakdown
- 2 cups (240 g) all-purpose flour: The structure.
For lighter biscuits, sift it.
- 2 tsp baking powder: The lift. Freshness matters; swap if older than 6 months.
- 1/2 tsp baking soda: Extra rise and even browning.
- 1/2 tsp fine salt: Amplifies flavor, keeps sweetness in check.
- 3 tbsp granulated sugar: Just enough to keep things tea-friendly.
- 6 tbsp (85 g) cold unsalted butter, cubed: The flake-maker. Cold is non-negotiable.
- 3/4 cup (180 ml) cold buttermilk: Tenderizes and adds a slight tang that plays well with tea.
- 1 tsp vanilla extract: Optional but excellent for aroma.
- 1–2 tbsp milk or cream: For brushing tops to encourage golden color.
- Optional toppers: Turbinado sugar, a pinch of cinnamon sugar, or a light lemon glaze.
Cooking Instructions
- Preheat and prep: Heat oven to 425°F (220°C).
Line a baking sheet with parchment. Chill the sheet in the fridge while you mix; a cold surface helps maintain flakiness.
- Mix dry ingredients: In a large bowl, whisk flour, baking powder, baking soda, salt, and sugar until evenly combined.
- Cut in butter: Add cold butter cubes. Using a pastry cutter or your fingertips, rub until the mixture resembles coarse crumbs with some pea-sized bits.
Keep it cool—melted butter equals dense biscuits.
- Add liquids: Stir in buttermilk and vanilla just until a shaggy dough forms. If it’s dusty-dry, add 1–2 tsp buttermilk. Don’t overmix; we want tender, not tough.
- Fold for layers: Turn dough onto a lightly floured surface.
Pat into a rectangle (about 3/4 inch thick). Fold like a letter into thirds, rotate, and pat out again. Repeat 2–3 times.
This creates those lovely layers that make tea dunking elite.
- Shape and cut: Pat to 3/4 inch thick. Cut with a 2 to 2.5-inch round cutter or slice into rectangles for classic tea-dunker vibes. Press straight down—don’t twist—or you’ll seal the edges and block the rise.
- Chill briefly: Transfer to the chilled baking sheet, spacing 1 inch apart.
Pop into the freezer for 10 minutes while the oven finishes heating. Cold dough = better lift.
- Brush and bake: Brush tops with milk or cream. Sprinkle a touch of sugar if you like a faint crunch.
Bake 12–15 minutes until risen and golden at the edges.
- Rest and serve: Cool on the sheet for 5 minutes, then transfer to a rack. Serve warm or at room temp with butter, jam, or a drizzle of honey. Tea time upgraded.
Storage Tips
- Room temperature: Store in an airtight container up to 3 days.
Add a small piece of parchment to absorb moisture and keep the tops crisp.
- Freeze unbaked: Freeze cut biscuits on a sheet until solid, then bag for up to 2 months. Bake from frozen at 425°F, adding 2–3 minutes.
- Freeze baked: Wrap tightly and freeze up to 6 weeks. Reheat at 350°F (175°C) for 6–8 minutes to re-crisp.
- Revive day-olds: Pop into a 325°F (165°C) oven for 5 minutes.
Please don’t microwave unless you enjoy rubbery sadness.
Benefits of This Recipe
- Perfect for dunking: Balanced moisture and layered structure means they don’t disintegrate in hot drinks.
- Versatile flavor base: Neutral enough to play nice with citrus, spices, chocolate, or savory add-ins.
- Beginner-friendly: Minimal steps, big payoff. Great intro to lamination-lite techniques.
- Budget-conscious: Uses staple ingredients; skips the $7 bakery biscuit flex.
- Quick turnaround: On the table in half an hour—weekday treat approved, FYI.
Pitfalls to Watch Out For
- Warm butter: If the dough gets greasy, you’ve lost flakiness. Chill your tools, hands, and sheet if it’s warm out.
- Overmixing: Stir only until combined.
Overworking develops gluten and leads to tough biscuits.
- Twisting the cutter: This seals edges and kills the rise. Straight down, straight up—no corkscrews.
- Wrong oven temp: Too low and they spread; too high and they brown before rising. Use an oven thermometer if yours is temperamental.
- Skipping the rest: A short chill before baking improves height and crumb.
Don’t rush it.
Recipe Variations
- Lemon Earl Grey: Add 1 tbsp finely grated lemon zest and 1 tsp finely ground Earl Grey tea to the dry ingredients. Finish with a light lemon glaze.
- Cinnamon Sugar Top: Mix 1 tbsp sugar with 1/2 tsp cinnamon; sprinkle after brushing with milk. Subtly sweet, brunch-ready.
- Cheddar + Black Pepper: Fold in 1/2 cup sharp cheddar and 1/2 tsp cracked black pepper.
Great with savory teas or soup (yes, that’s a thing).
- Vanilla Almond: Replace 1/2 tsp vanilla with 1/4 tsp almond extract. Add 2 tbsp sliced almonds on top for crunch.
- Chocolate Chip Mini: Fold in 1/3 cup mini chocolate chips and cut smaller rounds. Ideal for hot cocoa dunking, IMO.
- Brown Butter Maple: Use cooled browned butter and swap 1 tbsp sugar for 1 tbsp maple syrup.
Nutty, caramel vibes.
FAQ
Can I make these without buttermilk?
Yes. Mix 3/4 cup milk with 2 tsp lemon juice or white vinegar, let sit 5 minutes, then use. The acidity is key for tenderness and rise.
How do I get taller, flakier biscuits?
Keep everything cold, fold the dough a few times, and don’t overwork.
Press the cutter straight down and place biscuits close together so they “climb” as they bake.
Can I use whole wheat flour?
You can swap up to 50% with whole wheat pastry flour. Add 1–2 tsp extra buttermilk if the dough seems dry. Expect a slightly heartier texture.
Why are my biscuits spreading?
Likely warm butter or a too-low oven.
Chill the cut dough for 10 minutes before baking and verify oven temp with a thermometer.
☕ Transform Your Coffee Into a Wellness Ritual
Smarter caffeine habits, mindful routines, and fat-burning brew strategies.
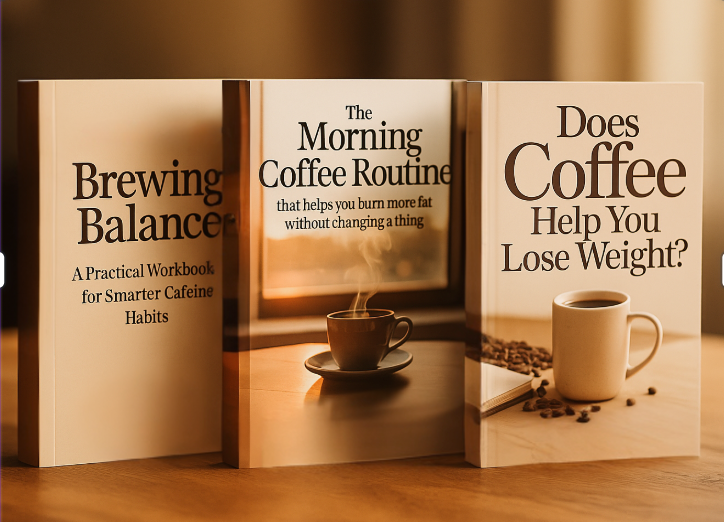
🌞 Morning Routine — Burn More Fat
🧪 Science Behind Your Sip — Does Coffee Help?
How sweet are these?
Mildly sweet—meant for tea. If you want dessert-level sweetness, add 1–2 extra tablespoons of sugar or finish with a glaze.
Do I need a pastry cutter?
Nope. Your fingertips or two butter knives work fine.
Just move fast and keep the butter cold.
In Conclusion
These Homemade Tea Biscuits Perfect for Dipping bring bakery-level texture with weeknight-level effort. Crisp edges, tender middles, and a structure built for dunking—no crumbles left at the bottom of your mug. Keep a stash of dough in the freezer, customize the flavor to match your mood, and make tea time feel a little more luxurious.
One bake and you’ll have a new ritual worth repeating.
Printable Recipe Card
Want just the essential recipe details without scrolling through the article? Get our printable recipe card with just the ingredients and instructions.